
To create a new image, select "File\New Image..." from the main menu or press Ctrl+N. If the previous image has not been saved, you will be prompted to save the image:
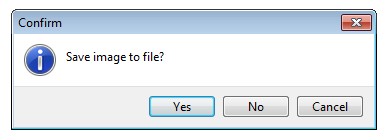
To save the previous image, click the "Yes" button. To not save the previous image, click the "No" button. To cancel the creation of a new image, click the "Cancel" button. If the shapes in the previous image have not been saved, you will be prompted to save the shapes:
The steps are the same as with the prompt to save an image. A window will appear:
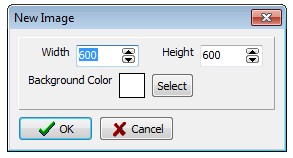
Set the width and height of the new image. Click the "Select" button and select the background color of the image. Click the "OK" button. A new image will appear.
The file view window is located under the main menu on the right side of the program window.
To select multiple files, click these files with the "Ctrl" key pressed. To select a range of files, click the start and end files of the range with the "Shift" key pressed. To select all files, select "Edit\Select All Files" from the main menu or press Ctrl+Alt+A. To copy selected files, select "Edit\Copy Files" or press Ctrl+Alt+C. To paste the copied files, select "Edit\Paste Files" or press Ctrl+Alt+V. To delete selected files, select "Edit\Delete Files" or press Ctrl+Del. To rename a file, select "Edit\Rename File..." or press Ctrl+Alt+R.
To load an image from a file, select "File\Open Image..." from the main menu, or press Ctrl+O, or select the file in the file view window. To save the image in a file with a new name, select "File\Save Image As...". To save the image in a file with an existing name, select "File\Save Image" or press Ctrl+S. Image loading and saving is possible in JPG, PNG, GIF, TIF, PCX and BMP files. To print the image, select "File\Print Image..." or press Ctrl+P. To copy an image to the clipboard, select "Edit\Copy Image". To paste an image from the clipboard, select "Edit\Paste Image".
To customize the file view window, select "Options\File View...". A window will appear:
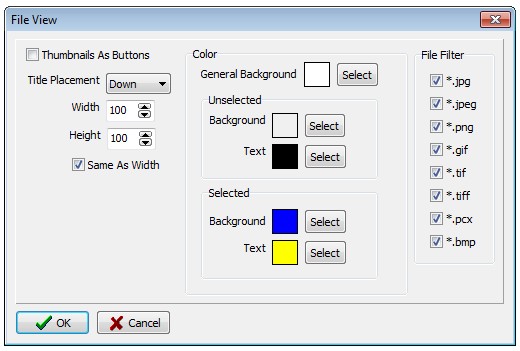
For thumbnails to be like buttons, check "Thumbnails As Buttons". To change the position of an image file name, select a position from the "Title Placement" drop-down list. To resize images, enter values in the "Width" and "Height" fields. To make the height equal to the width, check "Same As Width". To change the color, click the "Select" button opposite the corresponding inscription and select a color. Then check the extensions of the displayed files in the "File Filter" group. At the end, click the "OK" button.
The image is saved as a JPEG file with a certain quality. The higher the quality, the better the image looks, but the larger the file size. To set the quality, select "Options\JPEG Quality..." from the main menu. A window will appear:
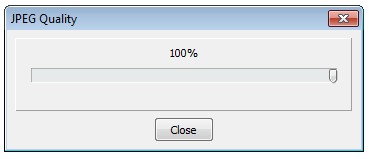
Drag the slider to the desired position.