
You can change the properties of a selected shape in the "Shape Properties" window. To display the "Shape Properties" window, select "View\Shape Properties" from the main menu or select "Properties..." from the context menu of the image. After changing the properties in this window, click the "Apply" button. The name of the shape is changed at the bottom of the "Shape Properties" window in the "Name" field. An arrow for rotation, squares for changing the position of vertices, a name, a border appear when a shape is selected. Its properties are located in the "Shape Properties" window on the "Selection Handle" tab:
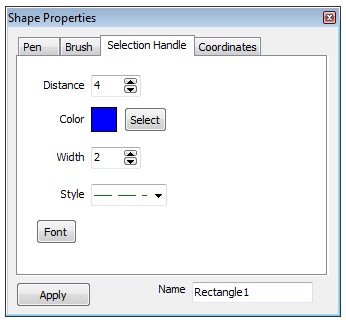
To change its size, enter a value in the "Distance" field. To change its color, click the "Select" button and select a color. To change the thickness of the arrow, squares and border, enter a value in the "Width" field. If the thickness is 1, then you can select a border style from the "Style" drop-down list. To change the font, click the "Font" button and set the font.
The coordinates of the vertices and the angle of rotation of the figure are on the "Coordinates" tab:
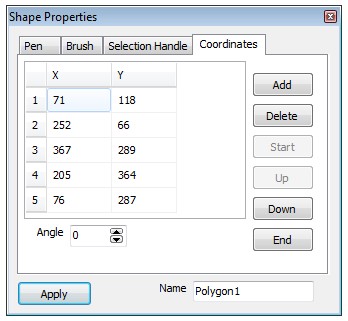
To change the coordinate value, enter a new value in a table cell. To add a new coordinate, click on a table cell and click the "Add" button. Cells with zero coordinate values will appear after the clicked cell. Enter the required values instead of zero. To delete a coordinate, click the cell with the coordinate value and click the "Delete" button. To move the coordinate values to the beginning of the table, click the cell with the coordinate value and click the "Start" button. To move the coordinate values one position up, click the cell with the coordinate value and click the "Up" button. To move the coordinate values one position down, click the cell with the coordinate value and click the "Down" button. To move the coordinate values to the end of the table, click the cell with the coordinate value and click the "End" button. To change the rotation angle, enter the angle value in degrees in the "Angle" field.
The borders of "Pencil", "Line", "Arc", "Bezier Curves", "Rectangle", "Ellipse", "Chord", "Pie", "Polygon", and "Text" shapes are drawn with the pen. The pen properties are on the "Pen" tab:
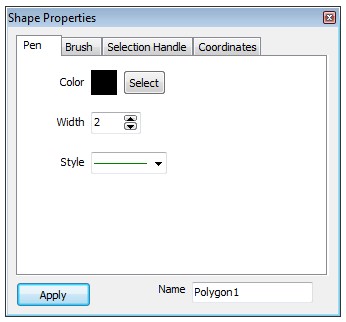
To change the color of the border, click the "Select" button and select the color of the border. To change the thickness of the border, enter a value in the "Width" field. If the thickness is 1, then you can select a border style from the "Style" drop-down list.
The background of the "Rectangle", "Ellipse", "Chord", "Pie", "Polygon", "Fill", and "Text" shapes is painted over with a brush. The brush properties are on the "Brush" tab:
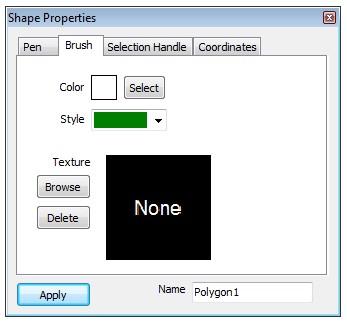
To change the background color, click the "Select" button and select the background color. To change the background style, select a background style from the "Style" drop-down list. A texture is a picture that fills the background. To select a texture, click the "Browse" button and select a texture file. To remove the texture, click the "Delete" button. If there is no texture, then the background style is used.
The text properties of the "Text" shape are located on the "Text" tab:
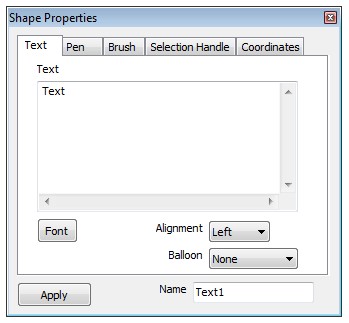
To change the text, edit it in the "Text" multiline field. To change the text font, click the "Font" button and set the font. To change the text alignment, select an alignment from the "Alignment" drop-down list. To set the position of the source of direct speech, select a position in the "Balloon" drop-down list.
The image properties of the "Picture" shape are located on the "Picture" tab:

To change the image, click the "Browse" button and select the image file. To make the background transparent, check "Transparent".

![]()